Expert Setup
Once you have created an account, becoming an expert takes a few minutes. This walkthrough follows a new expert from a fresh account through to a working Knowledge Agent on the Expert Dashboard.
Complete your profile
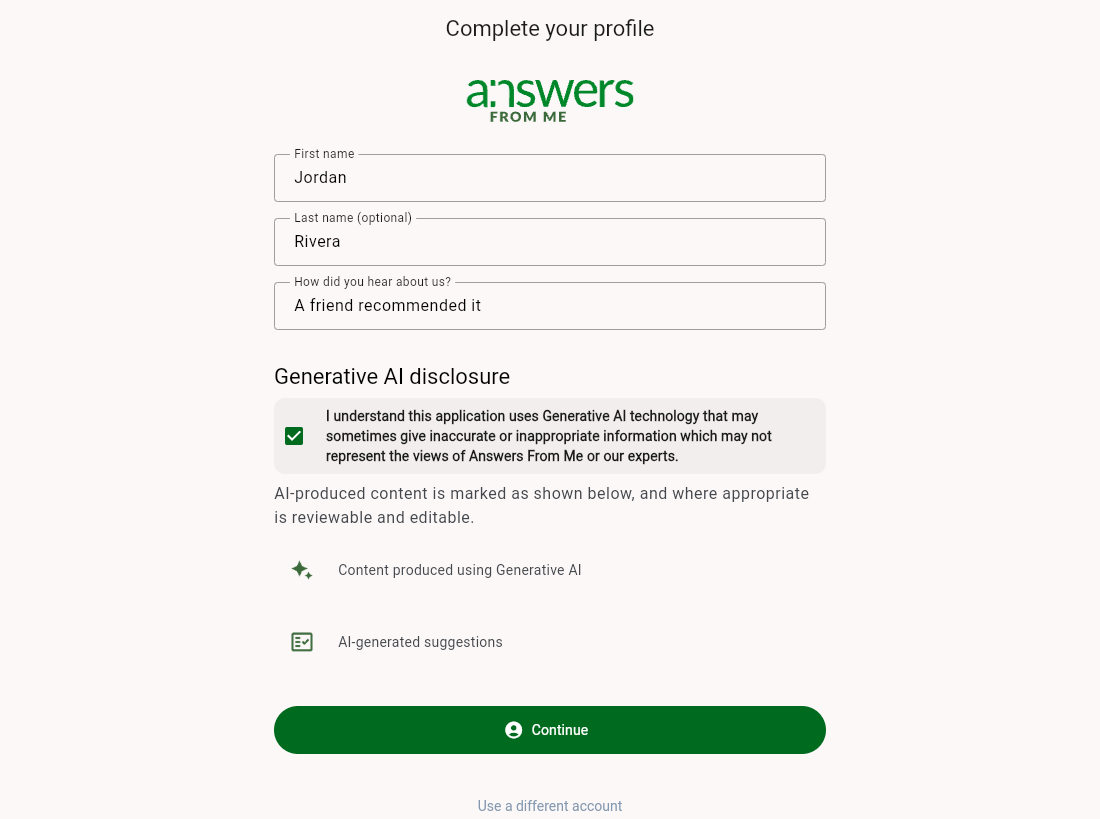
The first time you sign in, Answers From Me asks for your name, how you heard about us, and your acknowledgement of the Generative AI disclosure. Tick the box and click Continue.
Start for free
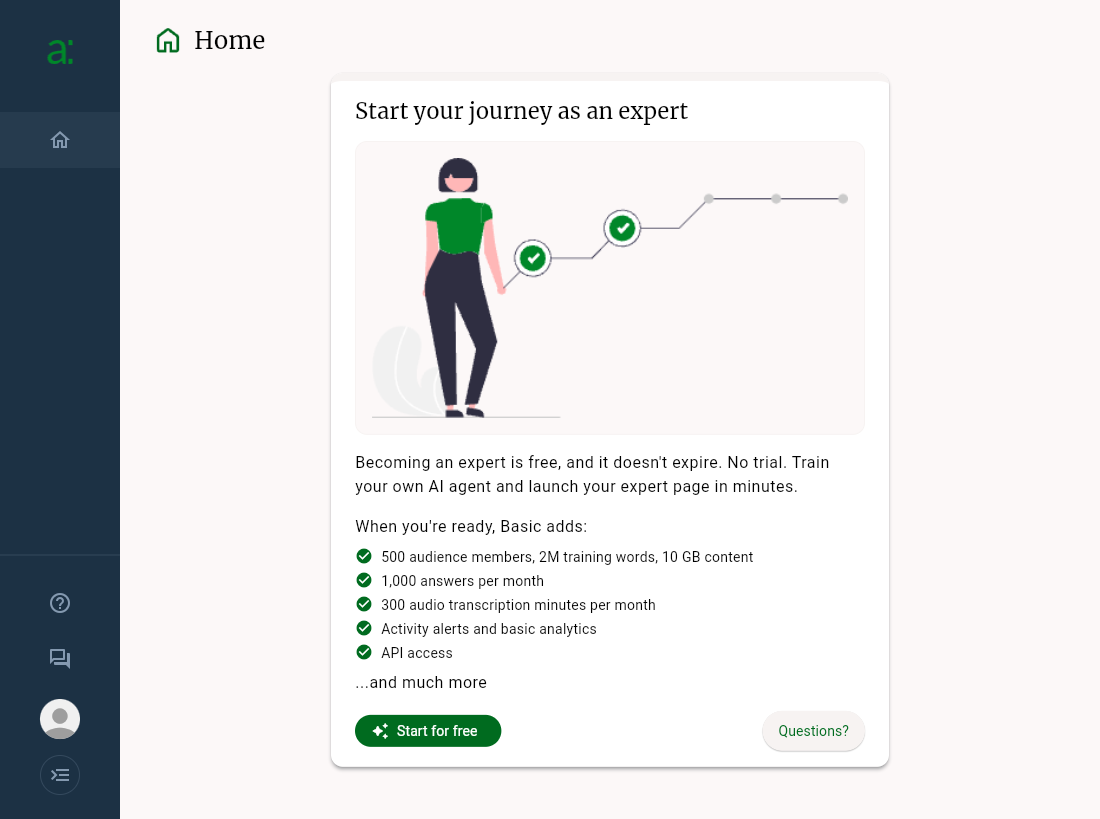
Your Home page greets you with Start your journey as an expert. Becoming an expert is free and does not expire, and no card is required. The card also previews what the Basic plan adds when you are ready for more audience members, content, and answers.
Click Start for free. If you have questions first, Questions? opens the help agent.
Expert registration
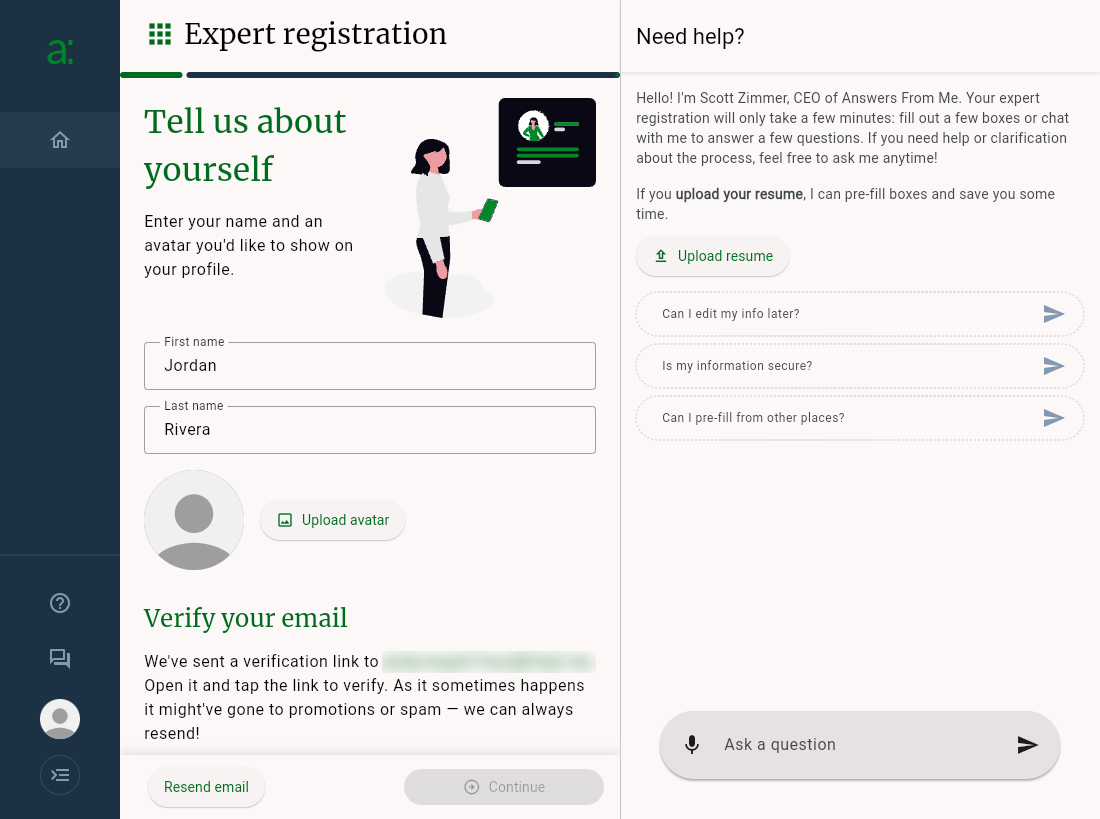
Registration is a short guided flow. The progress bar at the top shows where you are, and the Need help? panel on the right is a chat with Scott's Knowledge Agent that can answer questions about the process at any point. If you have a resume handy, click Upload resume and the wizard pre-fills the boxes for you.
1. Tell us about yourself
Confirm your name and, optionally, upload an avatar for your Expert Page. This step also verifies your email address: a verification link is sent to you, and once you have opened it, click I've verified. Use Resend email if it does not arrive.
2. Set your expertise
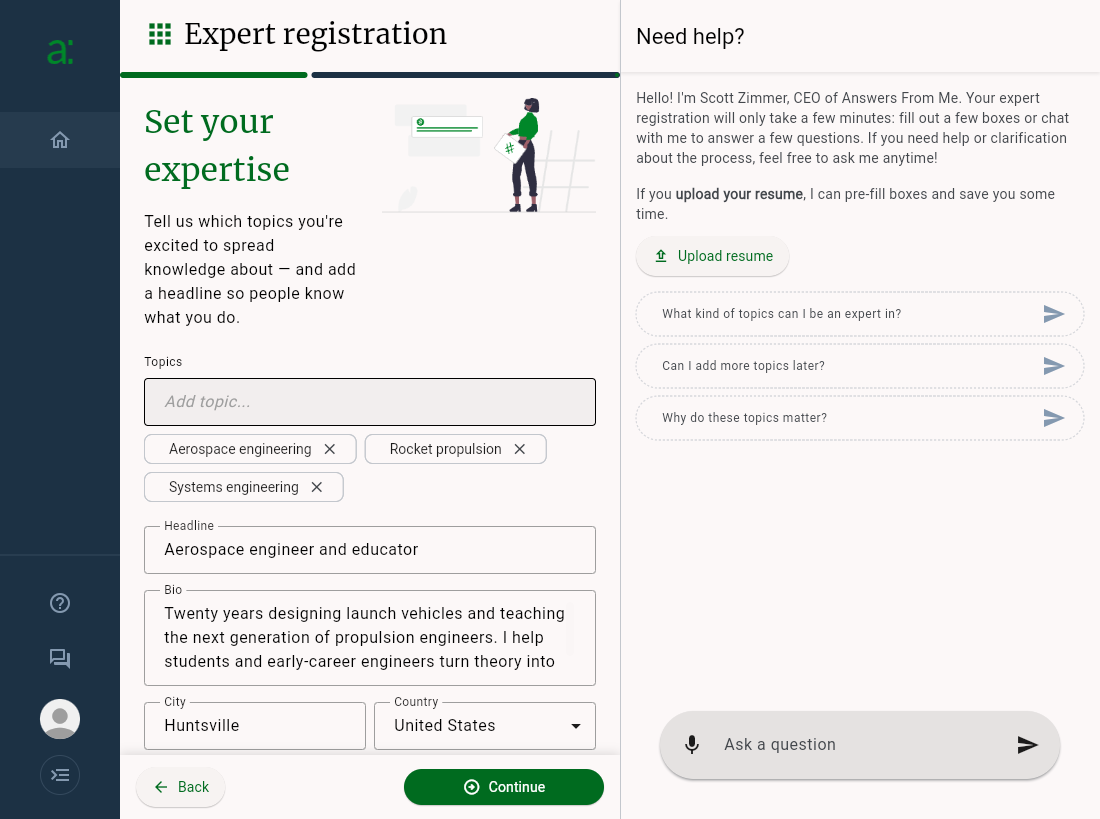
Add the Topics you want to be known for, a one-line Headline, and a short Bio. Your city and country default to your current location and can be changed. These details appear on your Expert Page and help seekers find you.
3. Add content
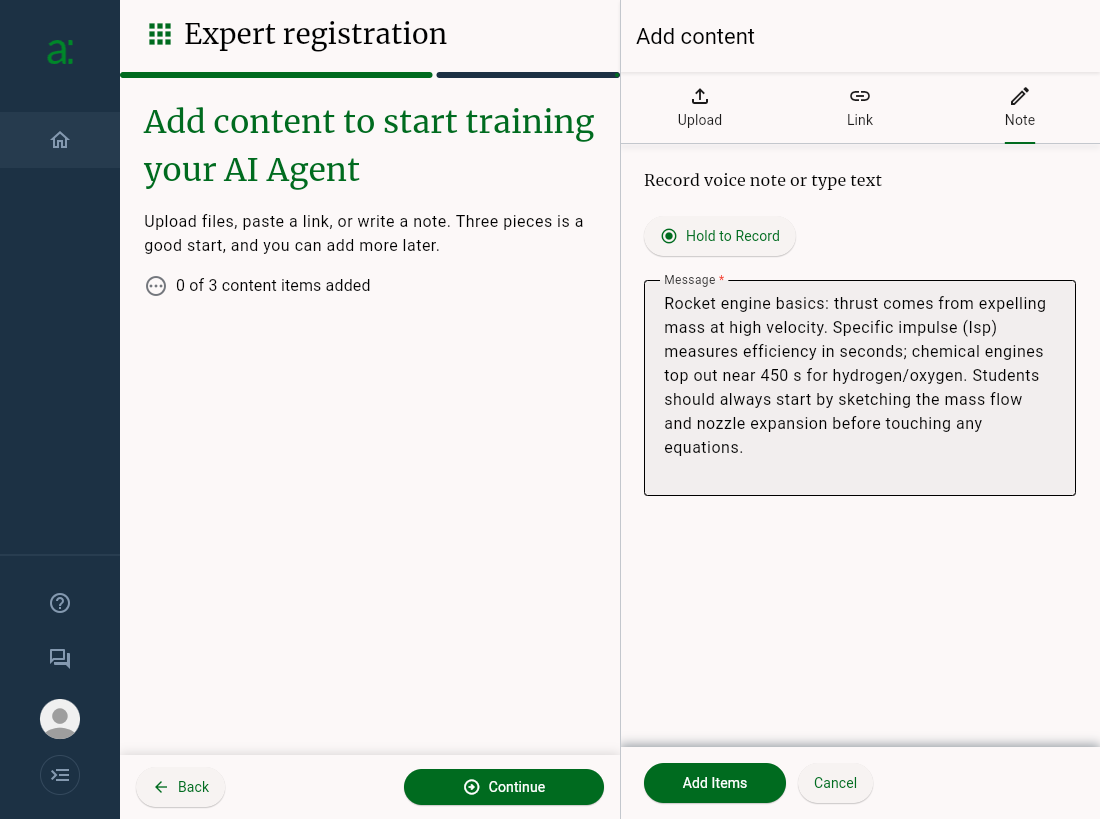
Your Knowledge Agent answers from your content, so this is where it starts to sound like you. Use the panel on the right to Upload files, paste a Link, or write (or record) a Note. Three items is a good start and you can add as much as you like later from the Knowledge page.
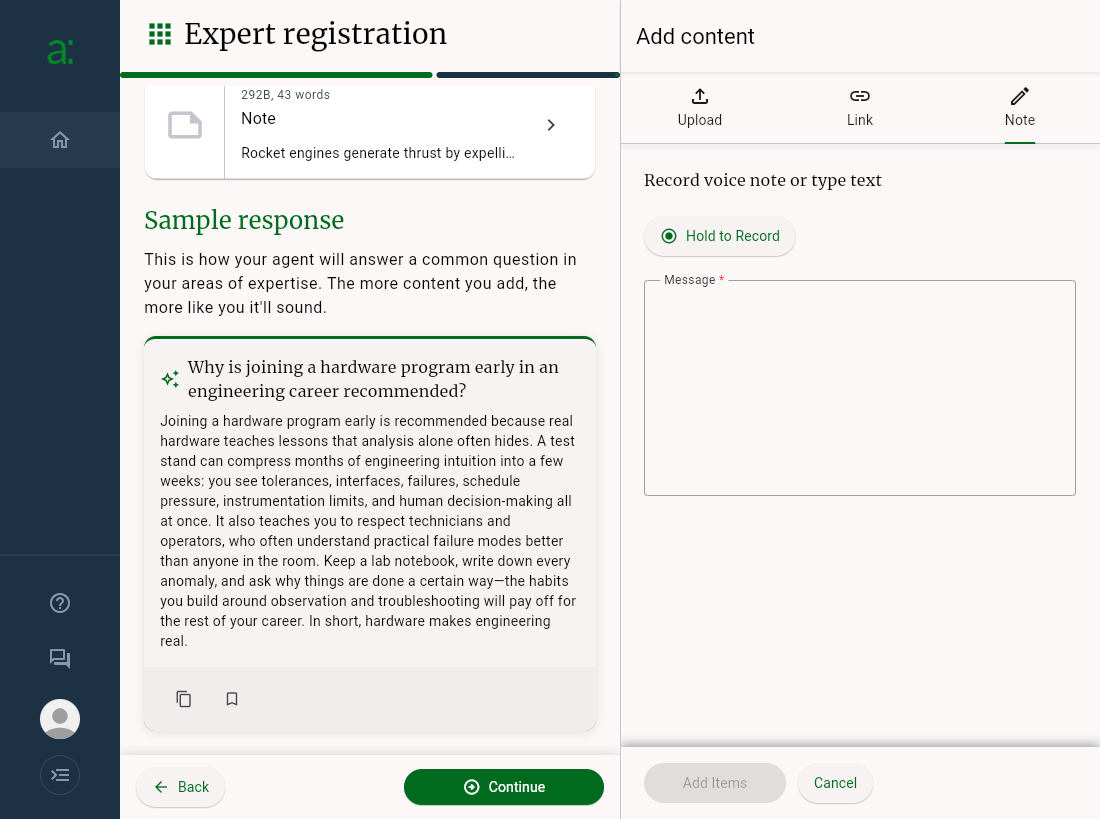
As soon as you have a couple of items, the wizard generates a Sample response: a question in your area of expertise answered by your new agent, with the items it cited. This is a quick check that your content is landing the way you expect.
4. Test your agent
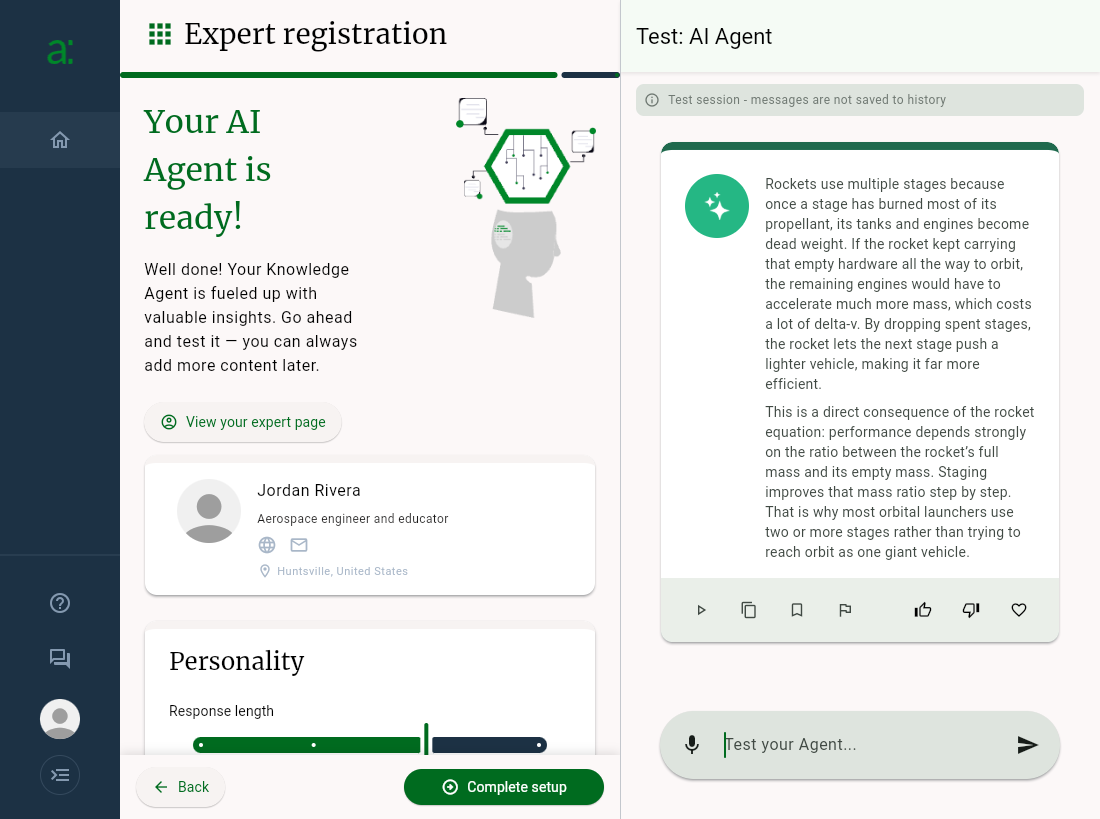
The final step confirms Your AI Agent is ready! and shows the Expert Page card that seekers will see, along with your agent's Personality settings. The Test: AI Agent panel on the right is a live chat with your agent. Test messages are not saved to history, so ask it anything and adjust the personality sliders if the tone is not quite right. Click View your expert page to preview your public page, then Complete setup.
Your Expert Dashboard
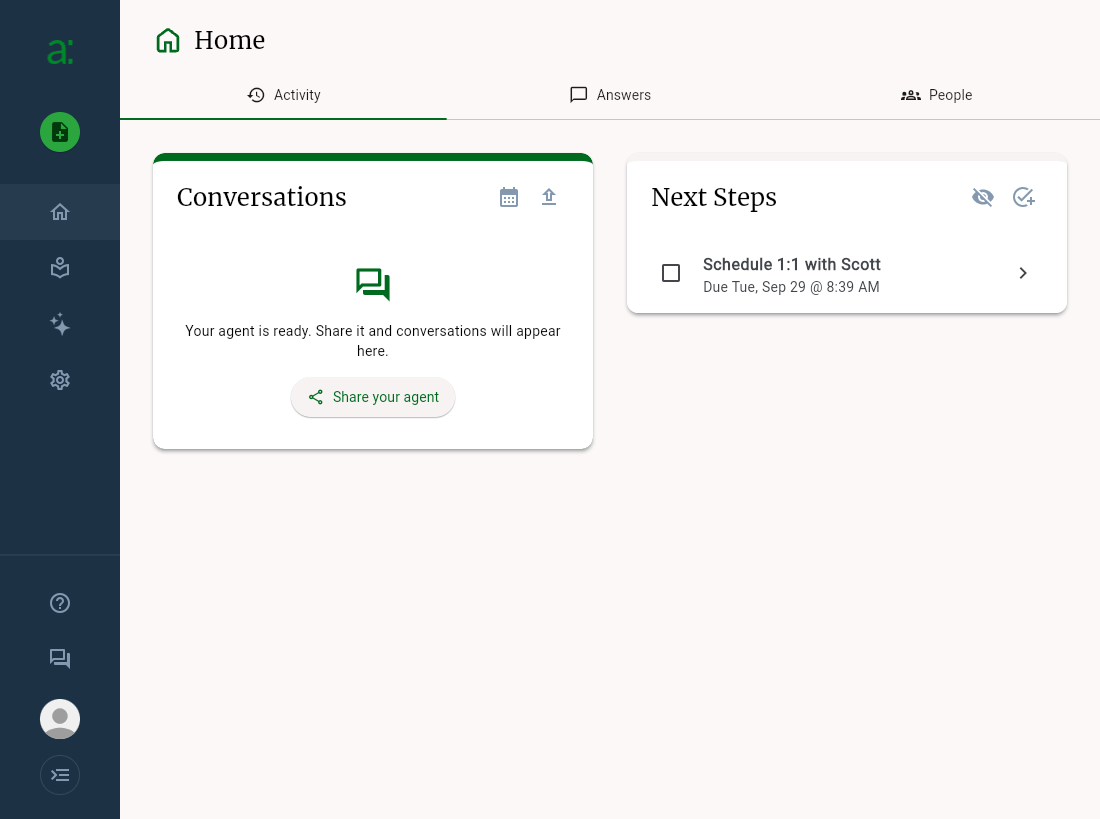
Setup drops you on the Home page of your Expert Dashboard. Conversations with your agent will appear in the Conversations card, and Next Steps keeps a task list for you. Click Share your agent to get your Agent Link and start inviting seekers.
What's next
- Add more content from the Knowledge page. See Add Content to your Knowledge Hub
- Fine-tune your agent's personality and behaviour on the Agents page. See Adjust Assistant Settings
- Polish your public page. See Expert Page Overview
- Invite seekers with your Agent Link. See Using Your Agent Link